|
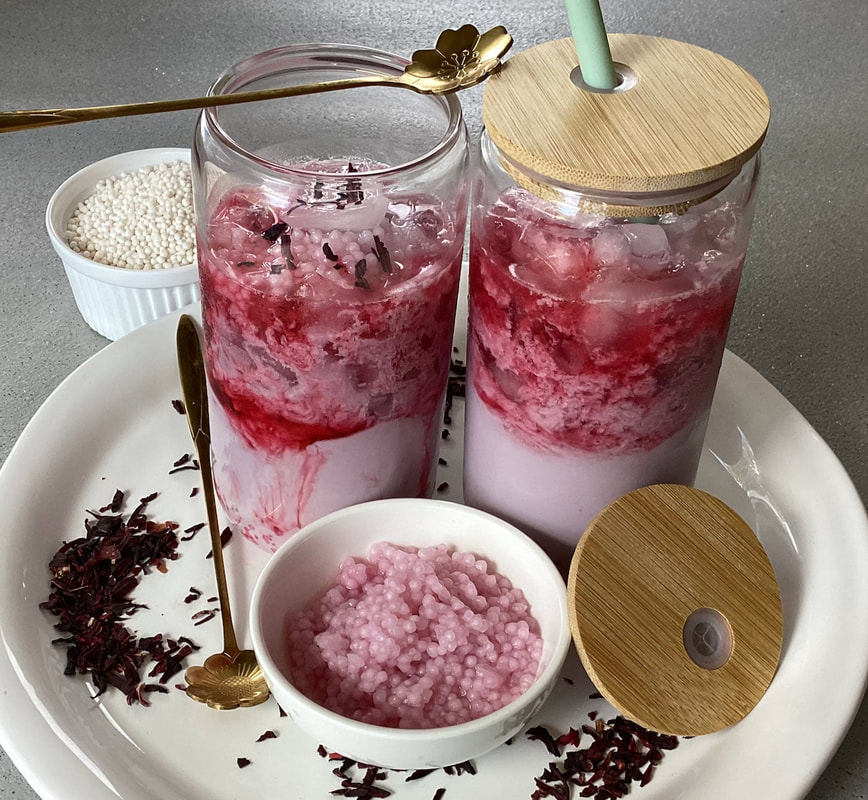
When our Tapioca Pearls arrived in store before Christmas, I set myself the challenge of making Boba, aka Bubble Tea from scratch. Why was it going to be a challenge? Because traditionally the bubble tea you buy already made uses the larger tapioca pearls, whereas we stock the tiny ones. I wasn't sure it would work. I'm pleased to report back that it does indeed work. The process was straightforward and fast. So I encourage you to give this deceptively simple drink a go. Prep Time: 5 min, Cook Time: 10 min, Chill time: 1 hour Servings: 2 Ingredients: ½ cup uncooked tapioca pearls 4 cups water (for cooking tapioca pearls) 4 teaspoons dried hibiscus flowers 1-2 tablespoons sugar of choice 1 cup hot water (for steeping tea) milk of choice ice Method: Bring 4 cups of water to a boil in a saucepan. Slowly add the tapioca pearls. Bring water back up to a simmer and cook for about 10 minutes, stirring occasionally so pearls don't clump together. Scoop a few pearls out with a slotted spoon to test for softness - they should be soft but with a little chew, a bit like pasta. Tip the cooked pearls into a colander in the sink and run plenty of cold tap water over them straight away so they don't cling together, and also so they stop cooking. Set aside. Meanwhile, pour 1 cup boiling water over dried hibiscus flowers and sugar; stir well then let steep for 10 minutes. Strain, stir again then allow liquid to completely cool in the fridge before making your drink. To assemble your Bubble Tea: Divide tapioca pearls between two tall glasses. Add ice and sweet hibiscus tea mixture evenly into both glasses. Add a splash of coconut milk or any other milk you fancy. Add a parfait spoon to help scoop up those plump tapioca pearls. Stir and enjoy! Pimp My Recipe Whilst I used hibiscus tea for this recipe, Bubble Tea is traditionally made with a base of black tea and fruit syrup. If you want to try the black tea version, use black tea in place of hibiscus leaves, and add fruit flavoured syrup or cordial instead of the sugar. Adapt the separate components of this recipe to your taste. The strength of the tea, the sweetness, and amount of milk and pearls. Milk: I tested this recipe with regular full cream milk, oat milk and coconut milk, and they all passed the taste test. However if you want to turn the authenticity up a notch, try using canned evaporated milk. It's what's traditionally used in a lot of commercial bubble tea shops.
0 Comments
Ah, Chocolate. The food so beloved that eating it wasn't enough, so we turned it into a drink, too.
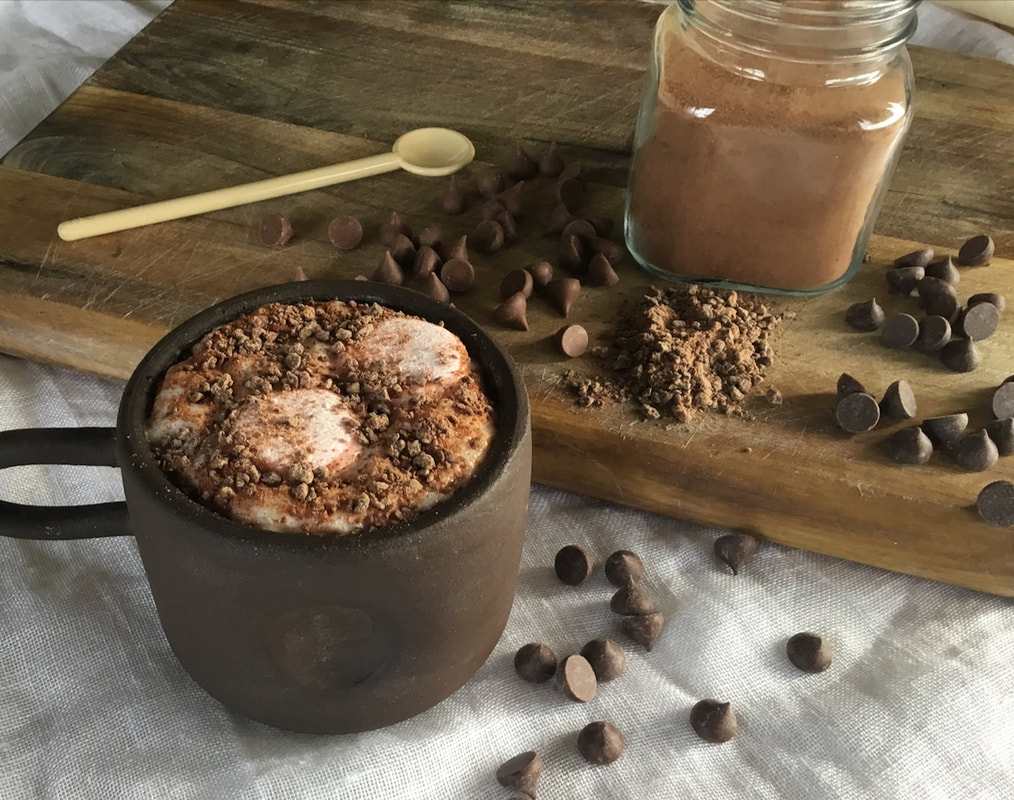
I came up with this Drinking Chocolate recipe when I had a hankering for a hot chocolate made with dark chocolate, and didn't want to pay $6 for one at a cafe. I Know that many cafes' secret to amazing hot chocolate is using actual chocolate pieces, stirred and melted into hot milk. I decided to take this concept one step further for my home pantry version: instead of pieces of chocolate, why not grind the pieces into dust, making them ready to spoon into a mug or glass to enjoy in any weather? Then I thought about a stumbling block with the version - straight chocolate does not take well to being mixed directly with water - it 'seizes'. The problem is, to make iced chocolate the powdered chocolate mixture needs to be mixed with with a splash of freshly boiled water in order for it to melt, so that when the cold milk is added the chocolatiness gets distributed throughout. Solution: I added a little sugar and cocoa. Flavour-wise the sweetness of the sugar and the earthy bitterness of the cocoa cancel each other out somewhat, but it also gives this Drinking Chocolate blend the alchemy it needs to be stirrable, dissolvable and quick. The end result has been a big hit with my family. For the grown-ups, I make it solely with 70% chocolate drops, while for my children I do a mixture of milk and dark. I should also mention - a jar of this Drinking Chocolate makes a lovely little gift. We hope you love it:) There are a few good reasons to enjoy making chocolatey treats. The cold weather keeps us indoors. The school holidays are upon us yet again. And, well, chocolate! We thought it might be a nice idea to make a selection of really simple petit four chocolates.
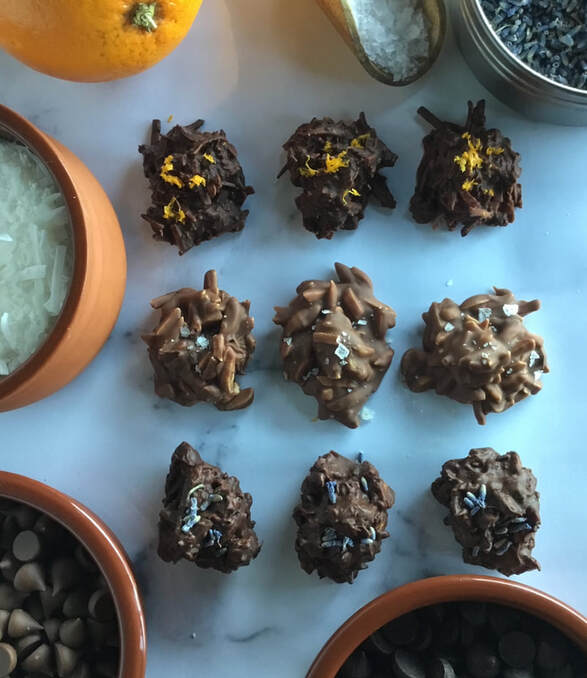
A petit four (French for 'small oven') is a bite-sized confection, cake or appetiser - as with so many things, it sounds better in French! These were made in under an hour, and are decadent, delicious morsels. No chocolate molds, marble benches or any special equipment are needed for these chocolates. There's no tempering or fancy techniques. You simply melt, mix, dollop & set! We sell four types of chocolate drops at Village Wholefoods, and we're using three of them for this selection of petit fours: milk, 55% dark and 70% dark. If you'd like some in-depth info on the different types of chocolate, head on over to this week's Product Spotlight, where it's explained in more detail. Now, to the Chocolate Petit Fours First up, we have Coconut Rough with Orange Zest, using the 70% dark chocolate drops. Next is Hazelnut & Lavender Clusters, made with the mellower 55% dark chocolate drops. Finally, we will make Salted Almond Clusters, using our milk chocolate. Whether you make these gorgeous treats for yourself, for visitors or as a gift, we think you'll enjoy the process as much as the result. The ingredient ratios & methods are basically the same for all 3 variations. So excited were we at the arrival of our new product, Organic Oat Flour, it didn't have a chance to cool its heels before I took some home to put it to delicious use.
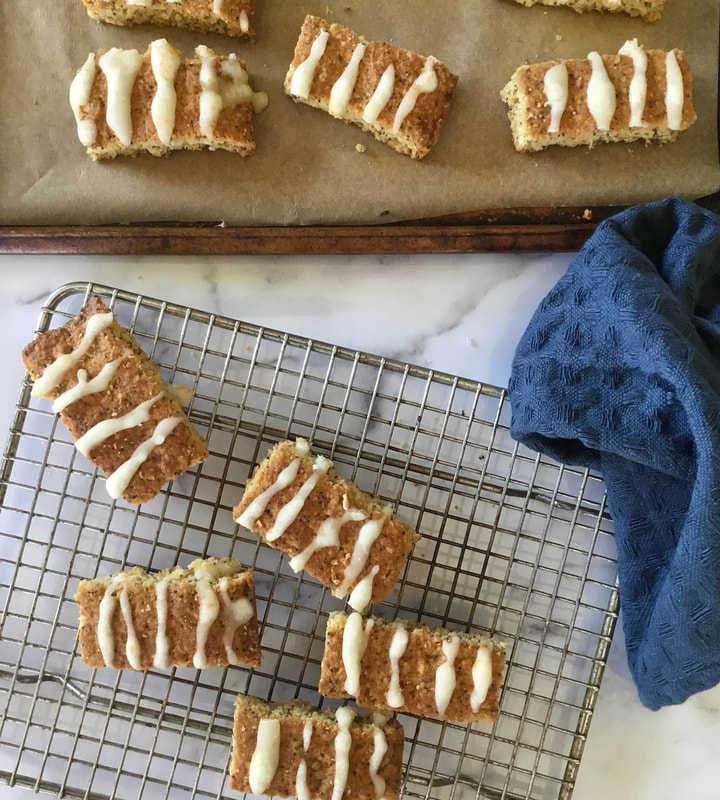
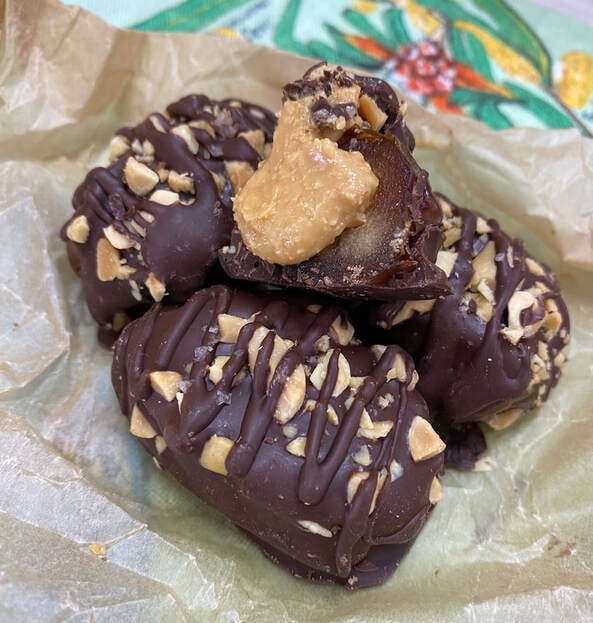
And there are so many delicious uses! What I chose to make were these moreish Orange and Poppy Seed Oat Bars. These Oat Bars come together so quickly and simply, and are an excellent breakfast on the run, a quick refuel with a cup of tea or a nourishing snack popped into a lunch box. The icing is optional. When making these for breakfast bars I tend to omit the icing, but it's really down to personal preference. You can also reduce the sugar from ⅔ cup to ½ cup if you like. Dear Villagers, I was inspired to make this recipe because of TikTok. Before you judge, let me explain, justify and defend my actions. We noticed recently quite an upswing in the number of customers coming in to stock up on medjool dates. Being nosy, we asked why, and learned that there was a recipe trending on TikTok for Snicker Dates. It was a simple recipe that involved stuffing a medjool date with peanut butter before dipping it in melted chocolate.
As a self-proclaimed queen of whole food snacks (I used to make sweet treats for cafes around the Inner West) I decided to make some. There's much to love about this kind of whole food treat, They usually involve a small number of ingredients, they're quick to make, and you don't have to worry too much about exact amounts - it's a more relaxing cooking experience when you can be a little loosey-goosey with weighing and measuring. Me being me, I made a couple of small changes to the recipe. The main one is the addition of cacao butter. While the TikTok recipes all called for dipping the dates in either straight melted chocolate, or adding a little coconut oil to the chocolate. The (small) issue with just melted chocolate on its own is that it sets hard, and you lose a bit of that decadent mouth feel that you get biting into a chocolate bar. And that is why some recipes include adding some coconut oil. The inclusion of coconut oil helps the chocolate melt better and set better, while also preventing it from going super hard and brittle. But coconut oil has a polarising taste, and I know a lot of kids in particular who aren't keen on it. Hence I decided that cacao butter would be a better option. It not only improves the meltability and the texture when set, but the subtle, rich flavour and aroma adds tenfold to the chocolate bar experience we are trying to create. I decided to add a touch of cacao butter to the peanut butter too, to give the peanut butter a creamier, more velvety mouthfeel. Being that there are 6 ingredients, and the recipe is done and dusted in 30 mins, I guess you are wondering why such a simple recipe is so long and wordy… Please don't be alarmed, I promise you that it is indeed very simple and we are not about to put you through a Masterchef Pressure Test! It's just that each simple step is harder to explain in words than video. Feel free to omit using toothpicks - your Snicker Date Bites will be a little wider and a little flatter, but just as delicious. One final thing before we jump in and get cooking: In my opinion, it's the salt and crushed peanuts that make these babies sing. Don't skip them! |
Categories
All
Archives
January 2024
|

 RSS Feed