|
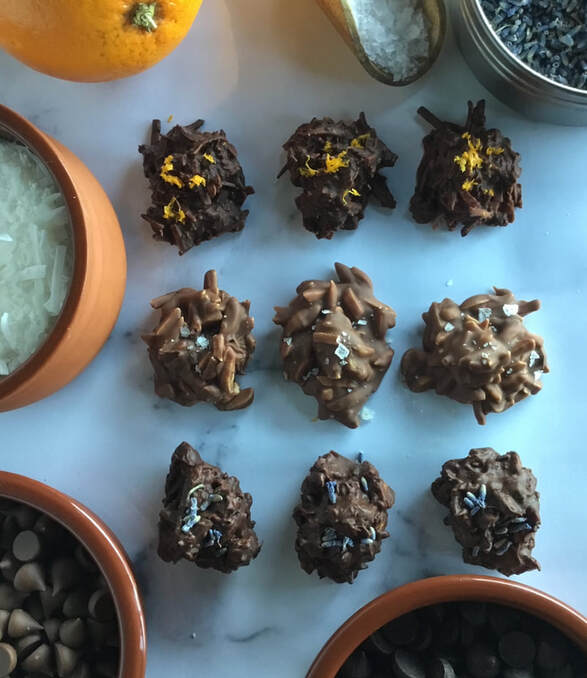
There are a few good reasons to enjoy making chocolatey treats. The cold weather keeps us indoors. The school holidays are upon us yet again. And, well, chocolate! We thought it might be a nice idea to make a selection of really simple petit four chocolates.
A petit four (French for 'small oven') is a bite-sized confection, cake or appetiser - as with so many things, it sounds better in French! These were made in under an hour, and are decadent, delicious morsels. No chocolate molds, marble benches or any special equipment are needed for these chocolates. There's no tempering or fancy techniques. You simply melt, mix, dollop & set! We sell four types of chocolate drops at Village Wholefoods, and we're using three of them for this selection of petit fours: milk, 55% dark and 70% dark. If you'd like some in-depth info on the different types of chocolate, head on over to this week's Product Spotlight, where it's explained in more detail. Now, to the Chocolate Petit Fours First up, we have Coconut Rough with Orange Zest, using the 70% dark chocolate drops. Next is Hazelnut & Lavender Clusters, made with the mellower 55% dark chocolate drops. Finally, we will make Salted Almond Clusters, using our milk chocolate. Whether you make these gorgeous treats for yourself, for visitors or as a gift, we think you'll enjoy the process as much as the result. The ingredient ratios & methods are basically the same for all 3 variations.
0 Comments
So excited were we at the arrival of our new product, Organic Oat Flour, it didn't have a chance to cool its heels before I took some home to put it to delicious use.
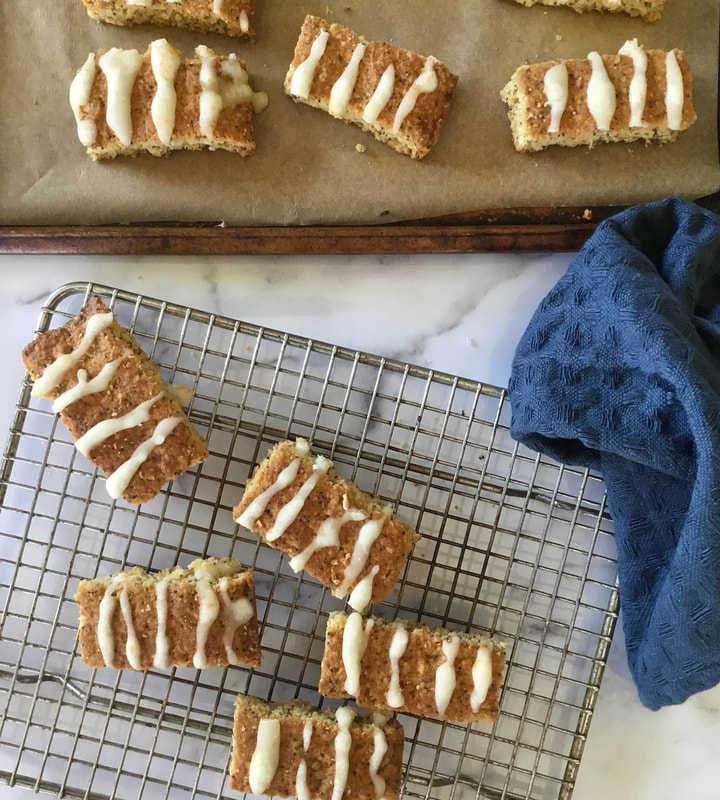
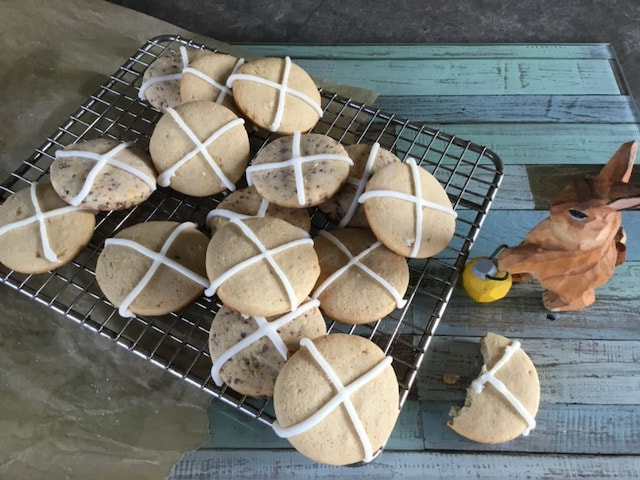
And there are so many delicious uses! What I chose to make were these moreish Orange and Poppy Seed Oat Bars. These Oat Bars come together so quickly and simply, and are an excellent breakfast on the run, a quick refuel with a cup of tea or a nourishing snack popped into a lunch box. The icing is optional. When making these for breakfast bars I tend to omit the icing, but it's really down to personal preference. You can also reduce the sugar from ⅔ cup to ½ cup if you like. Who's up for some Easter Baking? I thought long and hard about a nice Easter recipe to share, and decided quickly that Hot Cross Buns were out. I mean, this is the Inner West, and you can't go more than 500m in any direction without running into an artisan bakery, who over Easter will have punters queuing for award winning Hot Cross Buns. Considering people travel across town just to buy these speciality treats, I figured we leave the professionals to it and simply enjoy scoffing down their offerings over this holiday period. Then I thought: what about Hot Cross Biscuits? Like…a spicier take on a classic Christmas sugar cookie. With all those warming spices like cinnamon and nutmeg we associate with hot cross buns and Autumn. Are they a thing? If not, they should be! So let's make them a thing. They're deceptively easy, and they look so pretty that you'll feel pleased with yourself for days. Makes approx 24 Prep Time: 1hr 20min (includes chilling time), Cook Time: 11min Ingredients: 1 ½ cups plain flour ½ corn starch 1/2 tsp baking powder 1 pinch of salt 1 tsp ground cinnamon 1 pinch ground nutmeg 1 pinch ground cardamom 125g butter, cubed & softened ½ cup caster sugar 1 tbsp honey 1 tsp vanilla extract 1 egg plus 1 yolk (leftover from the icing) Icing: 1 egg white 150g icing sugar Few drops vanilla 1-3 tsp water as needed Method: Preheat the oven to 180°C/160°C fan forced. In one mixing bowl, sift in flour, corn starch, salt, baking powder & spices. In another mixing bowl, cream the butter and sugar together with an electric mixer until light and fluffy. Add honey, vanilla and egg and beat briefly with the electric mixer until well mixed in. Use a spatula or wooden spoon to add the flour mixture, folding slowly until just combined. Shape the mixture with your hands and roll into a long log. Wrap in cling film and pop it in the fridge for an hour to firm up a bit. Once chilled, roll dough with rolling pin til it's about 1cm in thickness (if you want a thin, snappy biscuit, aim for closer to a ½ cm) Sprinkle a little flour over the surface of the dough, then cut out small circles using an upturned glass or round biscuit cutter. The size you choose is up to you! Carefully place the circles 2-3cm apart on a baking paper lined baking tray and bake for 8-11 minutes, or until lightly browned. [Tip: I find I have to turn the tray around about ¾ of the way through baking time, otherwise the biscuits at the back are darker than the front ones. Ovens are rarely an even temperature throughout. Getting things cooked evenly can be trial and error, and nobody knows your oven like you do!] Transfer to a wire rack and once cooled, pipe icing crosses across the top. Icing for Cross Decorations: Mix all icing ingredients together until smooth. You can make crosses on the biscuits with a piping bag or a ziplock bag with a tiny hole cut in a bottom corner, or simply just drizzling with a teaspoon. After icing, leave to set for about 2 hours before popping them into a jar or biscuit tin. These biscuits will keep for 2 weeks in the pantry in an airtight container or jar. They can be frozen for up to 3 months. Pimp My Recipe Spiced Biscuits not your cup of tea? Just omit the cinnamon, nutmeg and cardamom, and add these following combinations instead: Choc Orange Always a winning combo! (These are the speckled biscuits in the picture above).
Lemon Myrtle & Pepperberry Give your Easter biscuits some Australiana flair. The gentle, sweet & refreshing elegance of lemon myrtle is the perfect bake mate for the sharp and spicy pepperberry.
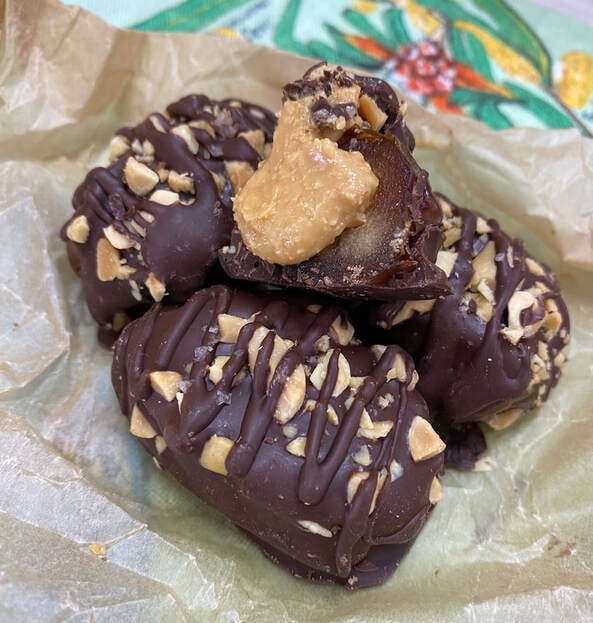
Dear Villagers, I was inspired to make this recipe because of TikTok. Before you judge, let me explain, justify and defend my actions. We noticed recently quite an upswing in the number of customers coming in to stock up on medjool dates. Being nosy, we asked why, and learned that there was a recipe trending on TikTok for Snicker Dates. It was a simple recipe that involved stuffing a medjool date with peanut butter before dipping it in melted chocolate.
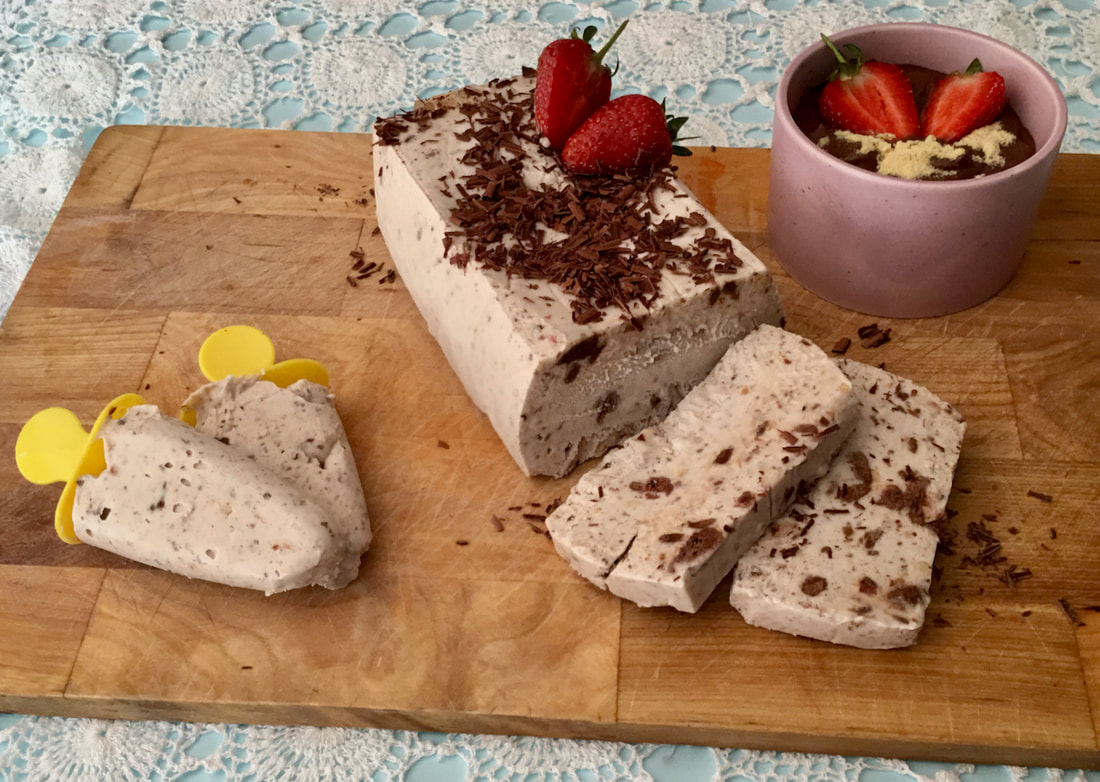
As a self-proclaimed queen of whole food snacks (I used to make sweet treats for cafes around the Inner West) I decided to make some. There's much to love about this kind of whole food treat, They usually involve a small number of ingredients, they're quick to make, and you don't have to worry too much about exact amounts - it's a more relaxing cooking experience when you can be a little loosey-goosey with weighing and measuring. Me being me, I made a couple of small changes to the recipe. The main one is the addition of cacao butter. While the TikTok recipes all called for dipping the dates in either straight melted chocolate, or adding a little coconut oil to the chocolate. The (small) issue with just melted chocolate on its own is that it sets hard, and you lose a bit of that decadent mouth feel that you get biting into a chocolate bar. And that is why some recipes include adding some coconut oil. The inclusion of coconut oil helps the chocolate melt better and set better, while also preventing it from going super hard and brittle. But coconut oil has a polarising taste, and I know a lot of kids in particular who aren't keen on it. Hence I decided that cacao butter would be a better option. It not only improves the meltability and the texture when set, but the subtle, rich flavour and aroma adds tenfold to the chocolate bar experience we are trying to create. I decided to add a touch of cacao butter to the peanut butter too, to give the peanut butter a creamier, more velvety mouthfeel. Being that there are 6 ingredients, and the recipe is done and dusted in 30 mins, I guess you are wondering why such a simple recipe is so long and wordy… Please don't be alarmed, I promise you that it is indeed very simple and we are not about to put you through a Masterchef Pressure Test! It's just that each simple step is harder to explain in words than video. Feel free to omit using toothpicks - your Snicker Date Bites will be a little wider and a little flatter, but just as delicious. One final thing before we jump in and get cooking: In my opinion, it's the salt and crushed peanuts that make these babies sing. Don't skip them! What better way to kick off 2023 than with a recipe for a delicious treat that meets all the summer holiday requirements: it's a breeze to make, there are minimal ingredients, needs no fancy gadgets, is vegan-friendly, requires no oven and it's perfect for warm weather.
This ice cream recipe is coconut cream based, and there are a few reasons why I chose to go this route:
|
Categories
All
Archives
January 2024
|

 RSS Feed